Install Apps on Tolino Vision 6 and Epos 3 Without Root: A Step-by-Step Guide
In our Tolino Vision 6 and Epos 3 rooting guide, you’ll learn how to gain ADB and root access to the e-reader and install your own apps.
If this approach seems too risky for you, or if you do not require root access but simply wish to use a few alternative Android apps, there is also a rootless method as described below.
This guide was created and tested for the Tolino Vision 6 and Epos 3 with firmware version 15.4.0. Firmware version 16.x.x generally no longer supports the method described below. As of 10/26/2022
To install apps without root on other Tolino e-readers, follow this guide. Although the basic procedure is the same, Vision 6 and Epos 3 are based on a new platform. Therefore, there are occasional minor differences, for example in the app selection available.
Things to Know Before You Start
The goal, then, is to install Android apps via sideloading. This means installing APK files directly from the device’s storage.
Normally, this is not possible on the Tolino Vision 6 and Epos 3, since you are operating within the Tolino user interface and do not have access to the rest of the system. In actuality, the Tolino interface is itself just an app—specifically, a launcher with various functions such as a reading app, browser, shop, and selected device settings.
The Tolino partners have always promoted their philosophy of openness. Although a purchased Vision 6 or Epos 3 is linked to a Tolino partner’s shop, you can connect the devices to other stores (keyword: “library linking”) in order to sync eBooks from those. ePub files from different providers can also be opened without problems, and you can use the Onleihe feature as well.
While Android’s openness is not immediately obvious, it is still present for those interested. On one hand, you can ultimately gain root access via the activated Fastboot interface. On the other hand, you can obtain ADB and app access without any special detours or complexity, thanks to the hidden debug function (known in English as the “troubleshooting function”).
The debug function can be accessed using a special number sequence entered in the search field (see below). Thanks go to a user in our forum for discovering the debug menu and sharing the number sequences.
If the Tolino partners wished, they could disable both options (Fastboot and Debug) or at the very least make access considerably more difficult. As they have not done so thus far, this openness at the system level remains noteworthy.
If you want to gain root access for the Tolino Vision 6 or Tolino Epos 3, follow the guide on this page.
We will now look at how to install apps via the debug menu. Since this method does not modify any critical system files, it is considered relatively safe. Of course, you should have some familiarity with how Android works, but as there is no flashing of files and no system access, serious problems are unlikely.
However, because this is not an officially supported feature—and despite careful testing—here is a warning:
We assume no responsibility for any issues and offer no support. The following steps may result in loss of warranty. Proceed at your own risk!
We describe two methods for installing apps:
- The first method involves installing apps directly on the Vision 6 without ADB. A PC is only needed to copy the APK files to the device’s internal storage. No special driver installation is necessary. You must choose your apps in advance. A launcher and virtual soft keys are required.
- The second method enables ADB on the Vision 6 or Epos 3, letting you install a prepared app package directly from a PC. Some preparation on the computer is required.
Which method you ultimately choose is a matter of personal preference. The first method generally involves fewer potential complications.
Option 1: App Installation without ADB
Enter the number sequence in the search bar
Copy the APK files you wish to install to the main directory of your Tolino Vision 6 or Tolino Epos 3’s internal storage using a USB cable, just as you would with any file transfer.
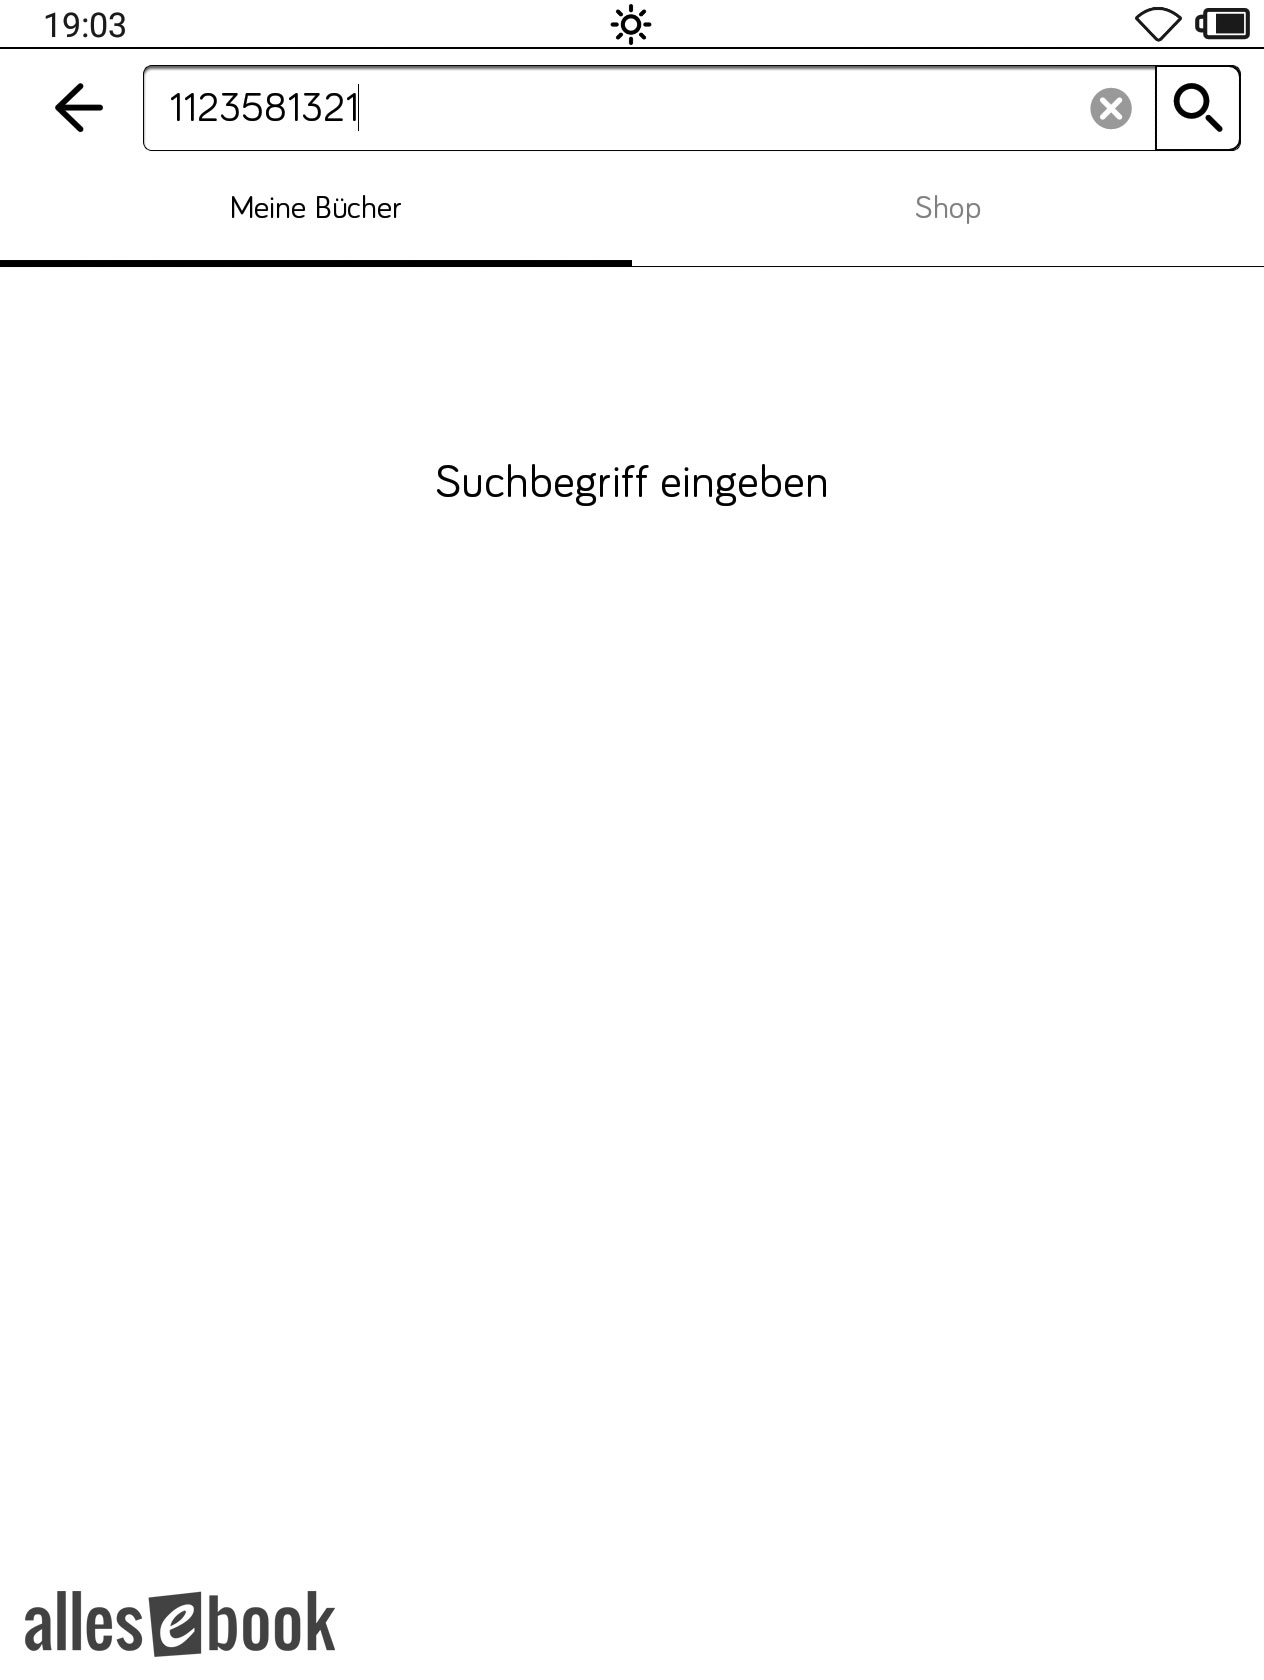
Tap the search icon in the user interface of the Vision 6 or Epos 3.
Input the following number sequence (without quotes) into the search field: “1123581321“, and press the search icon on the QWERTZ keyboard to confirm your entry. Background: This sequence represents the first eight digits of the Fibonacci sequence (excluding 0).
Use the debug window to install apps
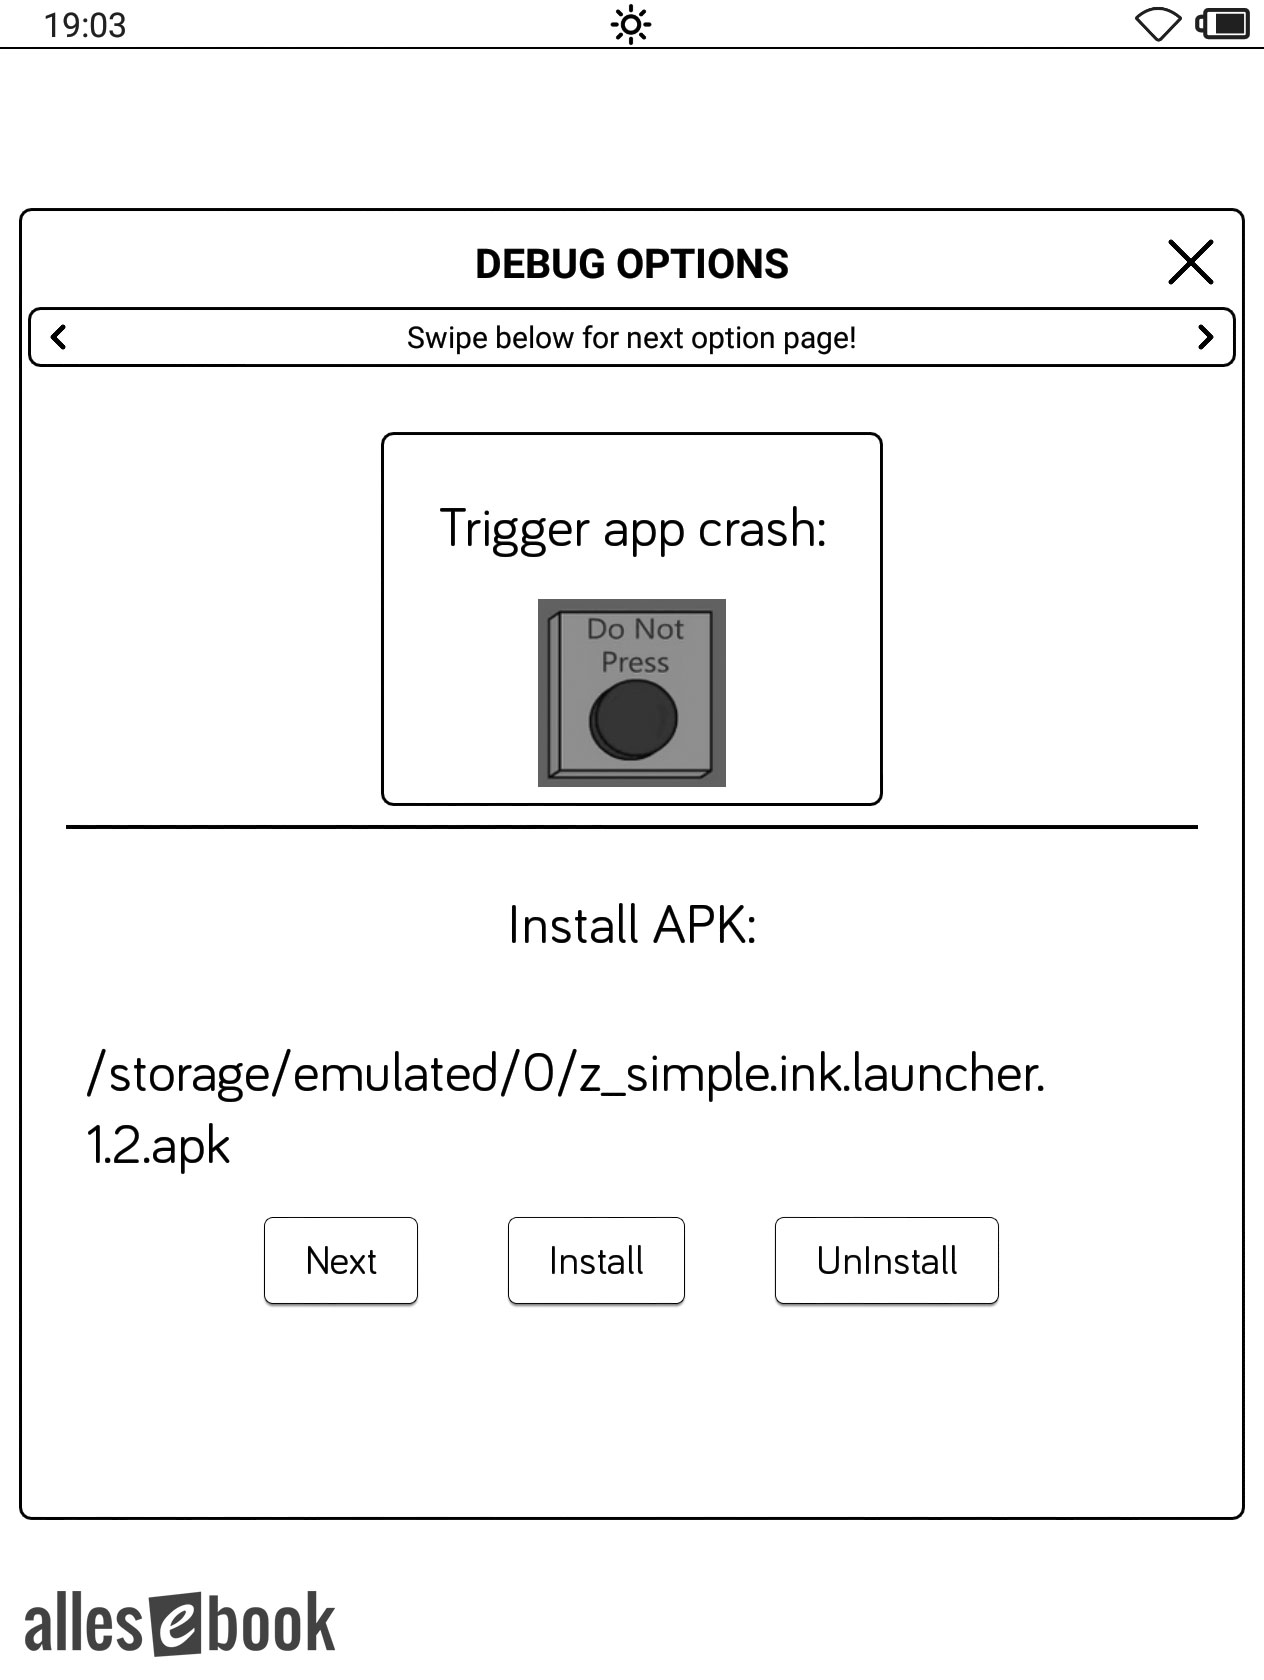
The debug menu will open. Swipe from right to left once to navigate to the APK installation screen (see image).
At the bottom of the screen, you will see several virtual buttons. Use these to cycle through the APK files stored in the internal memory (button: “Next”). If you wish to install the app currently displayed, tap “Install”.
That’s all you need to do to install the app. Please note that the number sequence may change with future firmware updates, as has happened previously.
If you have installed a new launcher, restart your e-reader so you can select the new launcher.
Option 2: Install App Package via ADB
The app package below contains three applications designed to make getting started with Android a bit more comfortable. You can use the following method to install these apps, or you may simply install them yourself using the debug menu (Option 1).
Download the app package here and unzip the ZIP file to any directory on your Windows PC:
Download: ALLESebook_tolino_vision6_app-package.zip (21.2 MB)
The package contains the following files and folders:
- a_usb_drivers
- DPInst_x64.exe
- DPInst_x86.exe
- …
- b_adb
- z_daxia.virtualsoftkeys_10.apk (Virtual navigation)
- z_simple.ink.launcher.1.2.apk (E-Ink-friendly launcher)
- z_zhanghai.android.files_31.apk (File explorer)
- …
- 1_INSTRUCTIONS
- 2_INSTALL_usb_drivers.bat
- 3_INSTALL_vendor_id.bat
- 4_TEST_adb.bat
- 5_INSTALL_apps.bat
Step-by-Step Guide with ADB
Before making any changes to your device, confirm that the correct USB drivers for the ADB interface are installed. Start the file “2_INSTALL_usb_drivers.bat“. This will install the appropriate drivers on your Windows PC, automatically distinguishing between 32-bit and 64-bit systems. Follow the driver installation prompts until finished. Once completed, you can close both windows (Figure 1).
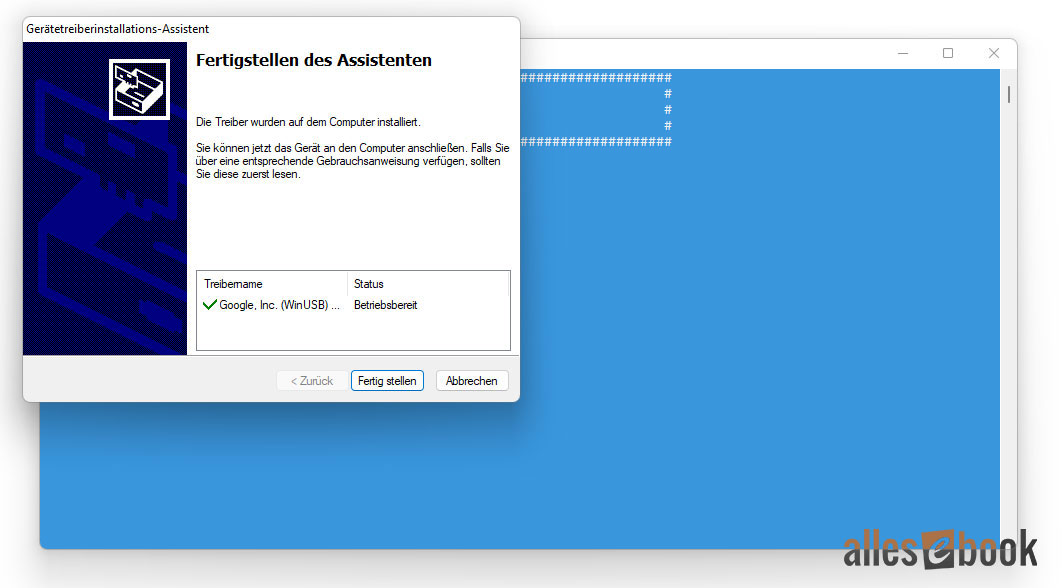
Figure 1: USB Driver Installation
Using the file “3_INSTALL_vendor_id.bat“, add the device ID needed for ADB access in Windows (Figure 2). Without this ID, the ADB connection will fail even if the drivers are correctly installed.

Figure 2: Entering the Vendor ID
Now continue on your Tolino Vision 6 or Epos 3, not yet connected to the USB cable. Tap the search icon in the device’s user interface.
Enter the number sequence in the search bar
Input the following number sequence (without quotes) in the search field: “1123581321“, and press the search icon on the QWERTZ keyboard to confirm. Background: This sequence represents the first eight digits of the Fibonacci sequence (excluding 0).
The debug menu will appear. Tap the slider for “usb debugging (adb)” to activate ADB.
Now connect the Vision 6 or Epos 3 to the PC using a USB cable.
In the next step, the ADB drivers you installed are linked to the device. This must be done even if you have previously connected another Tolino e-reader via ADB to the same PC. Open the Windows Device Manager.
Right-click the new device labeled “USB-Developer”, select “Properties”, and follow the steps shown in the following gallery.


Now you need to authorize the ADB connection. Start the file “4_TEST_adb.bat“. If the driver installation was successful, a random string will appear as the device ID with the status “unauthorized” in the blue window. At the same time, a pop-up will appear on the e-reader requesting confirmation for ADB access (“Allow USB debugging?”). Select “Always allow from this computer” and tap OK.
This will permit ADB access from your PC.
If there is no activity in the blue window, and if only “* daemon started successfully *” is shown for at least 30 seconds, close the window, disconnect and reconnect your e-reader, and restart the file. If no ADB device is recognized and the random string does not appear, the driver installation likely failed.
Finally, proceed with the app installation to unlock access to the Android user interface: Start the file “5_INSTALL_apps.bat“. The apps will be installed automatically. Afterwards, the Tolino Vision 6 will restart by itself.
Final Steps
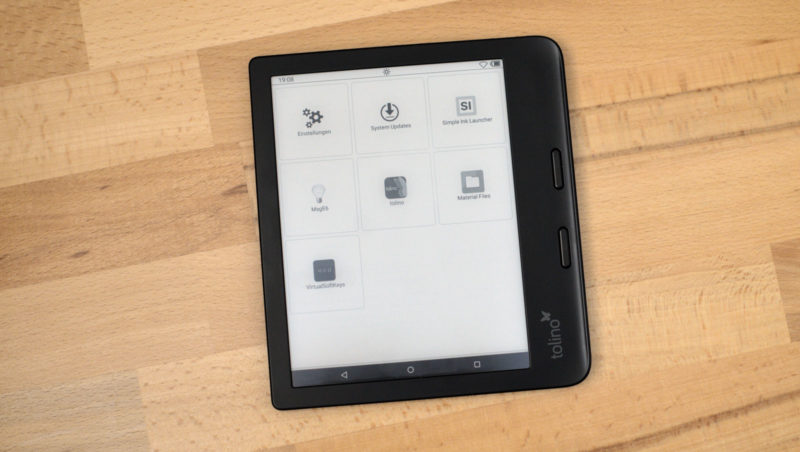
After the last step, the Tolino Vision 6 or Tolino Epos 3 restarts, and you will be greeted by a launcher selection. Choose “Simple Ink Launcher” and then “Always” to make it your default user interface.
Next, you must activate the Virtual Softkeys. This enables you to switch between the Tolino app and the Simple Ink Launcher. Without this, you would have to restart the e-reader each time you wish to return to the launcher.
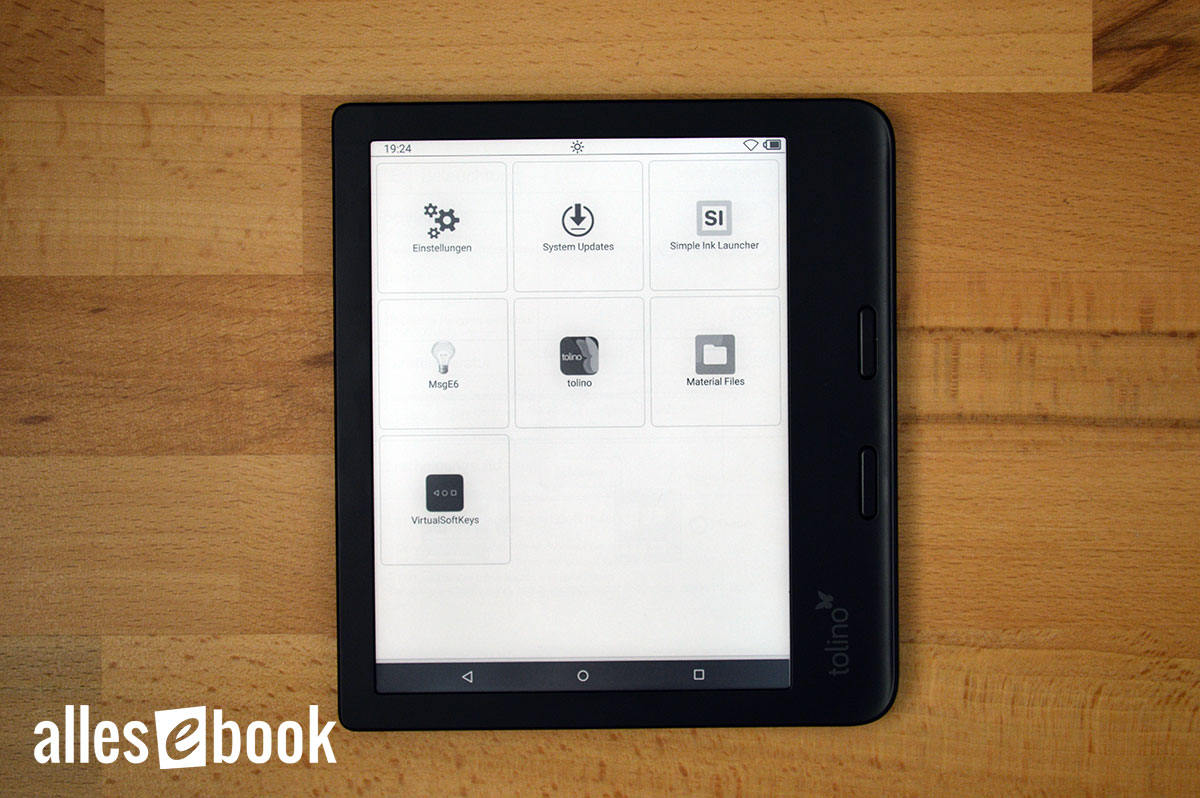
Simple Ink Launcher and Virtual Soft Keys installed via the debug menu
Activating and Setting Up Virtual Soft Keys
Slightly confusing, but necessary and quickly done
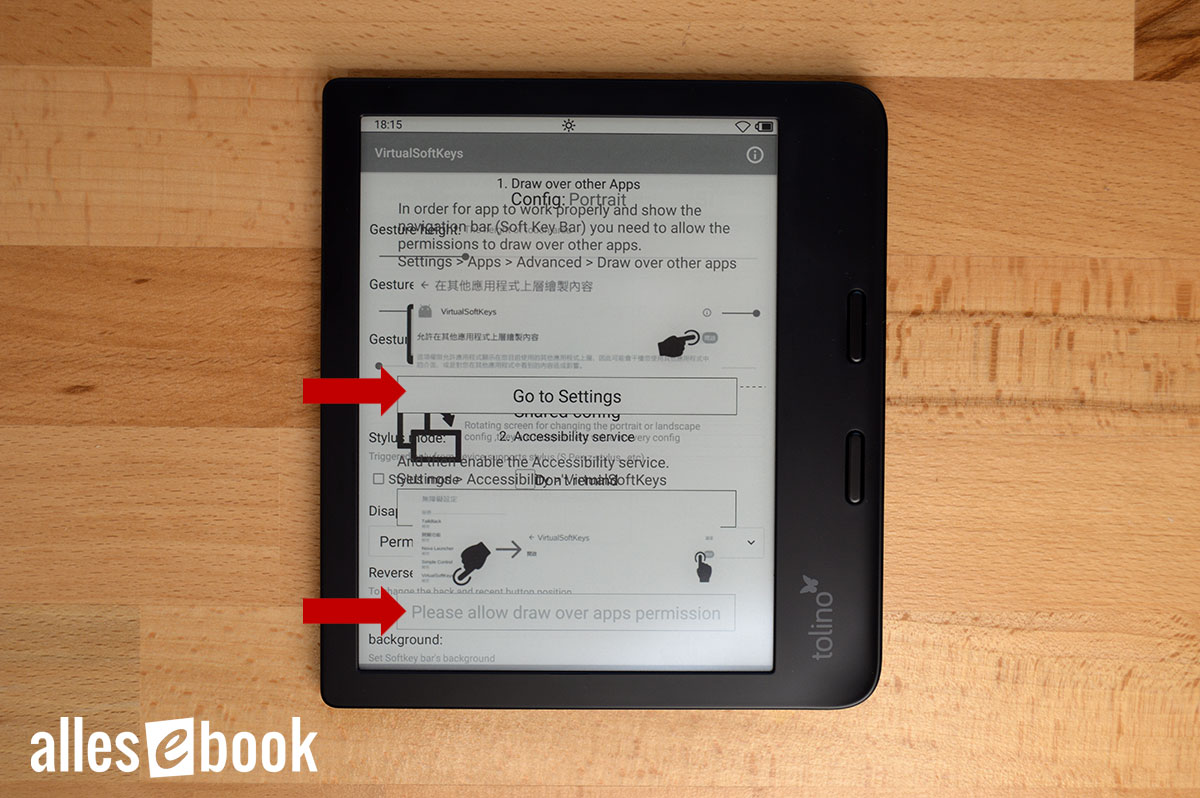
The Virtual Softkeys setup might look confusing at first because the pop-up windows are transparent and lack a background color. However, you can complete the setup quickly with these three simple steps:
- First, tap the “Go to Settings” button and grant the app permission to overlay other apps.
- Next, swipe up from the bottom edge of the screen to go back one step, then tap the second “Go to Settings” button. Here, you need to enable “VirtualSoftKeys” in the accessibility settings.
- After returning to the app by swiping up from the bottom edge again, check “Don’t remind” and tap “I knew”.
Once you have completed these three steps, you can adjust your preferred settings for the virtual button bar within the app’s options.
I recommend setting the “Gesture height” slider to about 50%. You will see a dark gray bar at the bottom of the screen as your selection indicator.
Swiping up in this area will display the button bar; swiping down will hide it again.
What to Do in Case of Questions or Problems?
As mentioned earlier, access to install apps on the Tolino Vision 6 or Epos 3 is not officially supported by the developers, and individual issues can occur. Unfortunately, I cannot offer personal support, as requests are too numerous and troubleshooting is generally time-consuming.
If you have questions or encounter problems, please contact our forum. In addition to myself, there are several knowledgeable Tolino experts who can assist with tips and advice.
You may also find answers to your questions in the forum. It is definitely worthwhile to read previous topics and use the search function.