
Tolino eReader: Install Android Apps Without Root – No Risk Guide
In our various Tolino root guides, you’ll learn how to gain ADB and root access to the e-reader and install your own apps:
However, if rooting seems too risky for you, or you do not need root access and only want to use a few alternative Android apps, there is a root-free solution described below.
This guide has been tested with the following e-readers and firmware versions, as of 10/26/2022:
Tolino Page 1, Firmware 15.3.0
Tolino Page 2, Firmware 15.3.0, 15.3.2
Tolino Shine 2 HD, Firmware 15.3.0
Tolino Shine 3, Firmware 15.3.0, 15.3.2
Tolino Vision 3 HD, Firmware 15.3.0
Tolino Vision 4 HD, Firmware 15.3.0
Tolino Vision 5, Firmware 15.3.0, 15.3.2
Tolino Epos 1, Firmware 15.3.0
Firmware version 16.x.x generally no longer supports the variant described below.
To install apps without root on the Tolino Vision 6 and Epos 3, follow this guide. Although the fundamental steps are the same, the Vision 6 is based on a new platform. Therefore, some minor differences may exist, such as the selection of apps we provide.
Things to Know Before You Start
The goal of this guide is to install Android apps directly from the device storage on the Tolino e-reader.
Ordinarily, this is not possible with any Tolino model, as you are restricted to the Tolino user interface without access to the rest of the Android system.
The Tolino interface is mainly an Android launcher app that provides functions such as a reading app, browser, shop, and selected device settings. However, it is possible to bypass these restrictions in order to launch other applications as well.
Root access can be achieved via the activated fastboot interface (see the links above). Alternatively, you can gain both ADB and app access relatively simply through the device’s hidden debug function (known in German as the “fehler-Such-Funktion”).
This debug function is opened using a special numerical sequence in the search field (explained below). Thanks go to the user in our forum for discovering the debug menu and publishing the relevant codes.
If the Tolino partners chose to, they could disable both fastboot and debug options, or at least make access significantly more difficult. Since this has not yet been done, this system openness remains, which is quite appealing to tech enthusiasts. Most regular e-reader users, however, are unlikely to notice these possibilities.
Next, we look at how you can install Android applications using the debug menu. This process does not alter any system-critical files, making it fairly safe. Although severe issues are unlikely without file flashing and root access, you should have at least some basic knowledge of Android.
Because this is not an official feature—even though the process has been thoroughly tested—the following disclaimer applies:
We cannot accept responsibility for any issues that might arise, and no support can be provided. The following steps may void your warranty. Therefore: Proceed at your own risk!
There are two options below for installing apps on the Tolino e-reader without root access:
- First option: Install apps directly on the Tolino, independently. A PC is only required to copy APK files to internal storage, and no additional driver installation is necessary. You do need to select your apps in advance. A launcher and virtual buttons are required in all cases.
- Second option: Activate ADB on the Tolino and use your PC to install a prepared app package. You will need to prepare a few things on your computer beforehand.
The first option has fewer sources of error. Ultimately, which of these two options you choose comes down to personal preference.
Option 1: App Installation without ADB

Enter the numerical sequence in the search bar
Simply copy the APK files you wish to install, using a USB cable, into the root directory of your Tolino e-reader’s internal storage.
Tap the search icon in the user interface.
Input the following numerical sequence (without quotes) in the search field: “1123581321” and press the search symbol on the QWERTZ keyboard to execute. Background Information: This sequence represents the first eight digits of the Fibonacci sequence (excluding 0).
Install the apps using the debug window
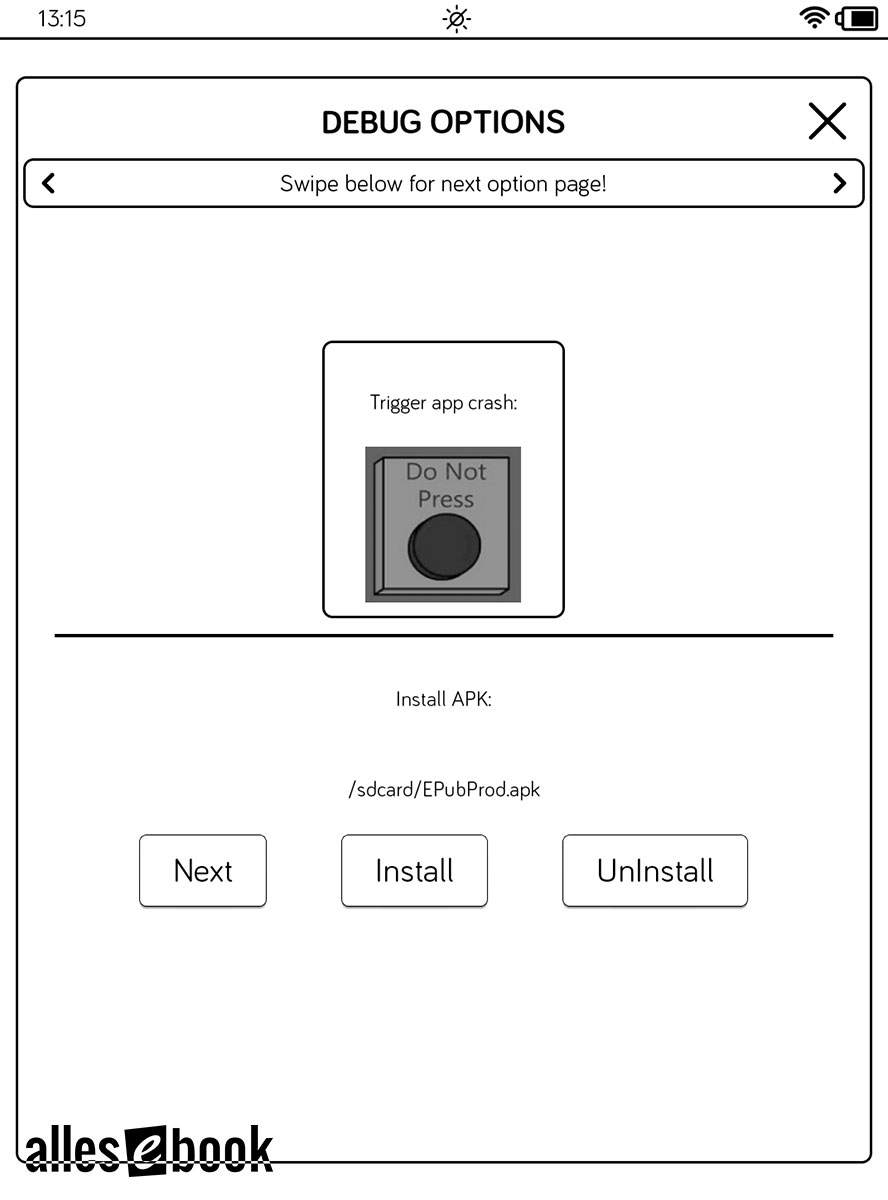
A window titled “DEBUG OPTIONS” will appear. Swipe once from right to left to reach the APK installation screen (see image).
There are several virtual buttons at the bottom of the screen. These let you scroll through the APK files stored in internal memory (button: “Next”). Tap “Install” to install the currently displayed app.
That’s all you need for app installation. Please note, the numerical sequence may change with future firmware updates, as has occurred before.
If you have installed a new launcher, restart your e-reader to select the launcher.
Option 2: Install App Package via ADB
The downloadable app package below contains three applications to help you get started with Android. You can either use the package as described below to install these applications, or simply install them manually via the debug menu (see Option 1).
Download the app package here and extract the ZIP file to any directory on your Windows PC:
Download: ALLESebook.de_tolino-4.x_app-package.zip (21.2 MB)
The package contains the following files and folders:
- a_usb_drivers
- DPInst_x64.exe
- DPInst_x86.exe
- …
- b_adb
- z_daxia.virtualsoftkeys_10.apk (Virtual Navigation)
- z_simple.ink.launcher.1.2.apk (E-Ink-friendly Launcher)
- z_org.brandroid.openmanager_212.apk (File Explorer)
- …
- 1_ANLEITUNG
- 2_INSTALL_usb_drivers.bat
- 3_INSTALL_vendor_id.bat
- 4_TEST_adb.bat
- 5_INSTALL_apps.bat
Step-by-Step Guide with ADB
Before you can install apps on the device, the appropriate USB drivers for ADB must be installed on your PC. Start the file “2_INSTALL_usb_drivers.bat“. This will install the required drivers on your Windows machine, automatically choosing between 32 and 64-bit systems. Follow the prompts to complete the installation, then close both windows (Image 1).

Image 1: USB Driver Installation
Next, run the file “3_INSTALL_vendor_id.bat“. This step enters the necessary device ID for ADB access into the operating system (Image 2). Without this, even with proper driver installation, ADB connections will not be established.
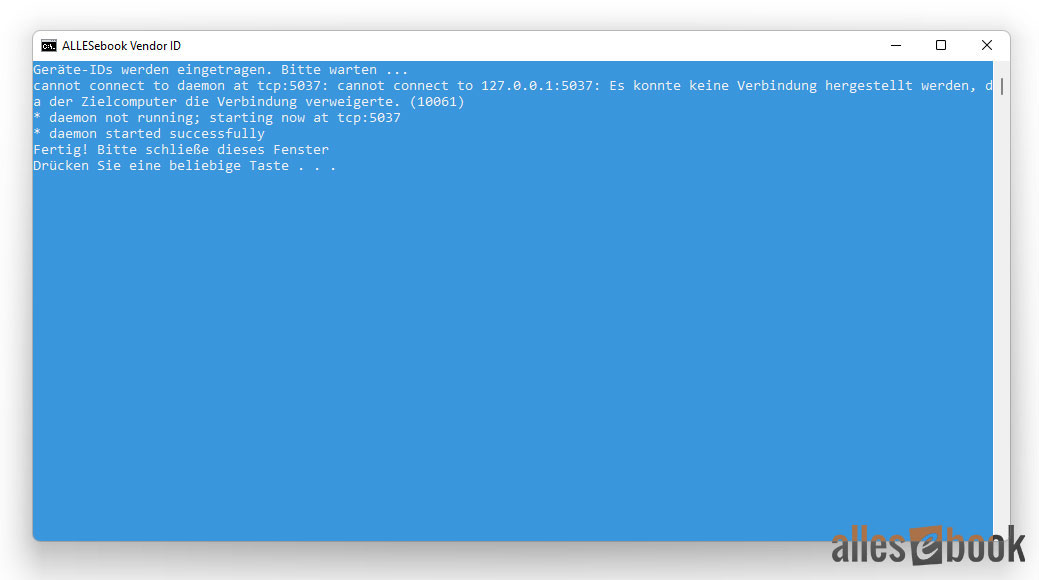
Image 2: Vendor ID is Entered
Now, turn to your Tolino e-reader. The device should not be connected to the computer yet. Tap the search icon on the device’s interface.
Enter the numerical sequence in the search bar
Enter the following numerical sequence in the search field (without quotes): “1123581321“, and tap the search symbol on the QWERTZ keyboard to execute. Background Information: This is the first eight digits of the Fibonacci sequence (excluding 0).
A “DEBUG OPTIONS” window will open. Toggle the slider for “usb debugging (adb)” to activate ADB.
Now, connect your e-reader to the PC via USB cable.
At this point, the ADB drivers installed earlier will be linked to the device. Open Device Manager in Windows on your computer.
Depending on the Tolino model, your device may appear under different names, such as “USB-Developer”, “tolino”, or “i.mx6sl NTX Smart Device”. Right-click on the new device, select “Properties”, and follow the steps in the subsequent image gallery.


Run “4_TEST_adb.bat“. If the driver installation succeeded, you’ll see a random string as the device ID, possibly labeled “unauthorized”. Should you see “unauthorized” next to the device ID, disconnect and reconnect your USB cable briefly, then run the file again. After that, “device” should appear next to the device ID, which means ADB access is now enabled.
If nothing happens in the blue window and only “* daemon started successfully *” is shown for more than 30 seconds, close the window, briefly disconnect the e-reader, reconnect it, and start the file again. If there is still no ADB device shown and the random string is missing, it is likely the driver installation was unsuccessful.
Finally, install the apps to enable Android interface access: Run “5_INSTALL_apps.bat“. The apps will install automatically, and the Tolino e-reader will restart by itself afterwards.
Final Steps
After the last step, the e-reader will restart and you will be greeted with a launcher selection on your Tolino. Choose “Simple Ink Launcher” and then select “Always” to set this launcher as the default interface.
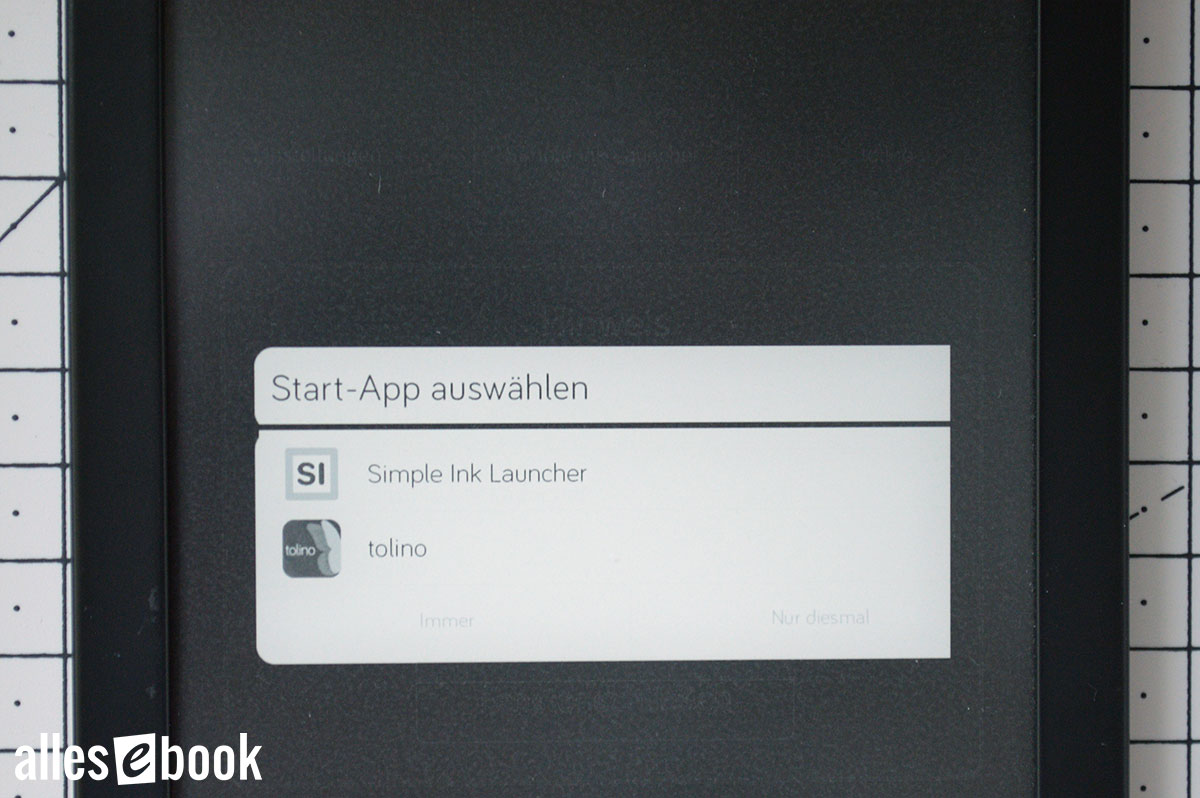
Select Standard Launcher
Now, you need to use the Virtual Softkeys to switch between the Tolino app and Simple Ink Launcher. Without this configuration, you would need to restart your e-reader each time to return to the launcher.
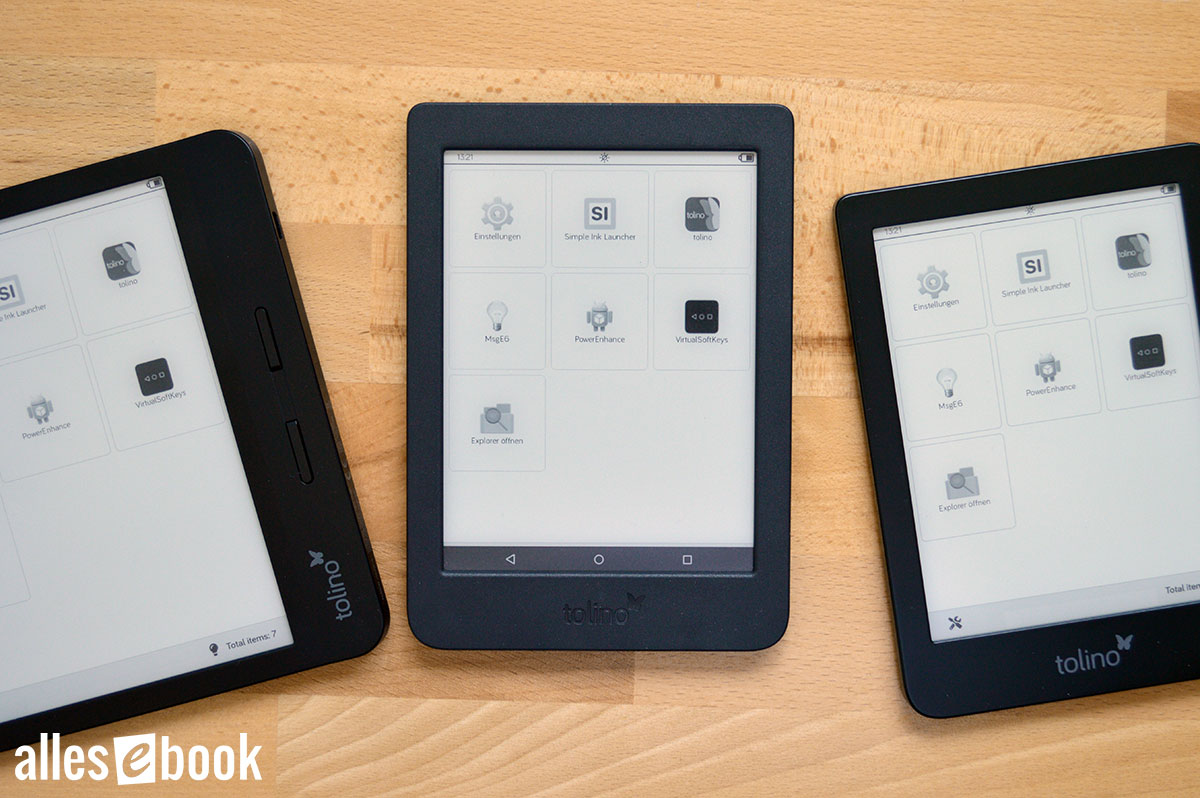
Simple Ink Launcher, VirtualSoftKeys, and File Explorer Installed Successfully
Activate and Set Up Virtual Soft Keys
Activate Accessibility Support
Setting up Virtual Softkeys is usually straightforward, though depending on your model, you may need a few extra steps.
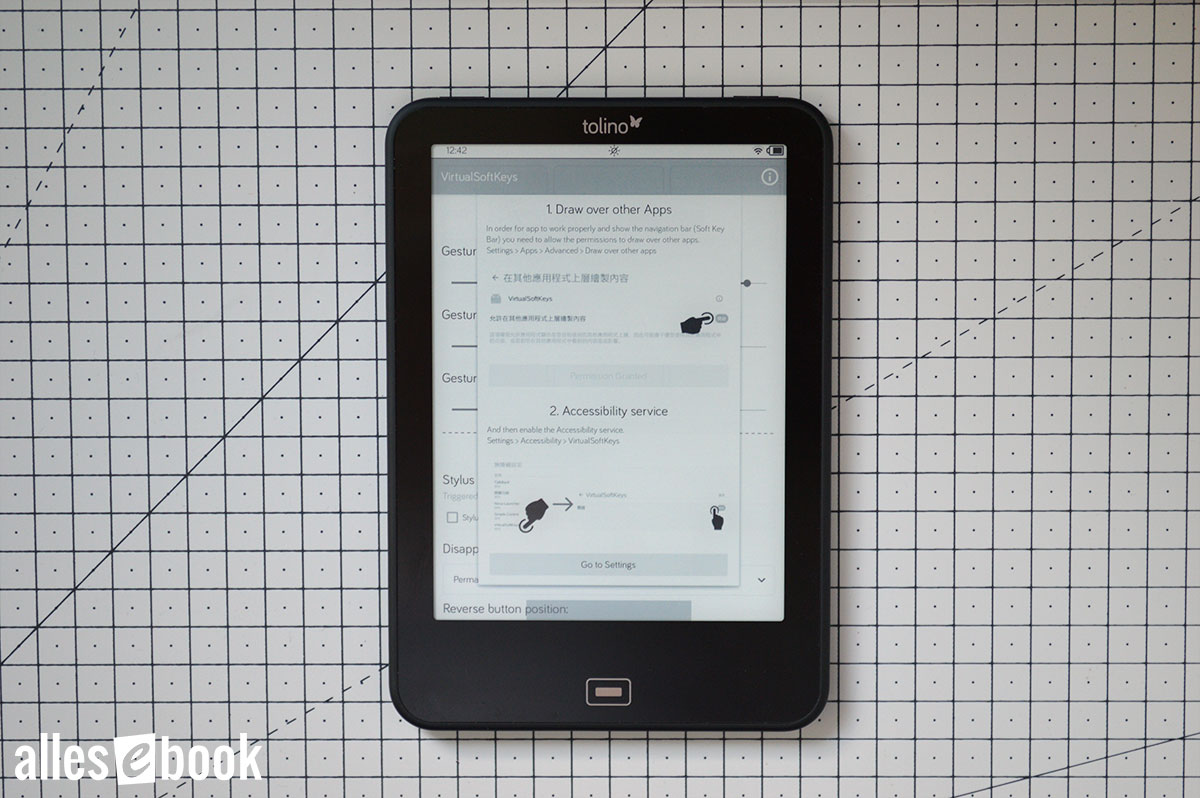
First, enable VirtualSoftKeys in the accessibility settings, then you can use them right away: Open the app and tap the lower, non-greyed “Go to Settings” button to activate “VirtualSoftKeys” within the accessibility menu.
The following steps differ slightly depending on which Tolino model you own.
Tolino Page 2, Shine 3, Vision 5, Epos 2
Here comes the tricky part: You now have to switch back again. On Tolino models without a home button, this is typically done by swiping up from the bottom of the screen. However, if you are not currently in the Tolino app, this function is unavailable.
Once you have granted accessibility permission for VirtualSoftKeys, you can use them without further app configuration.
Try swiping up from the bottom of the screen to display the virtual softkeys. This often requires several attempts since the default area is rather narrow. Be patient if the buttons do not appear immediately; once successful, simply tap the Home button to return to the Simple Ink Launcher.
If it does not work—even after several tries (especially on Tolino Page 2, which can be stubborn while Shine 3 and Vision 5 work more easily)—restart the e-reader. You will then return to the launcher and can simply open the VirtualSoftKeys app.
Open the VirtualSoftKeys app again, check “Don’t remind”, and dismiss the pop-up window with the “I knew” button. You can now increase the “Gesture height” and expand the area to bring up the virtual buttons.
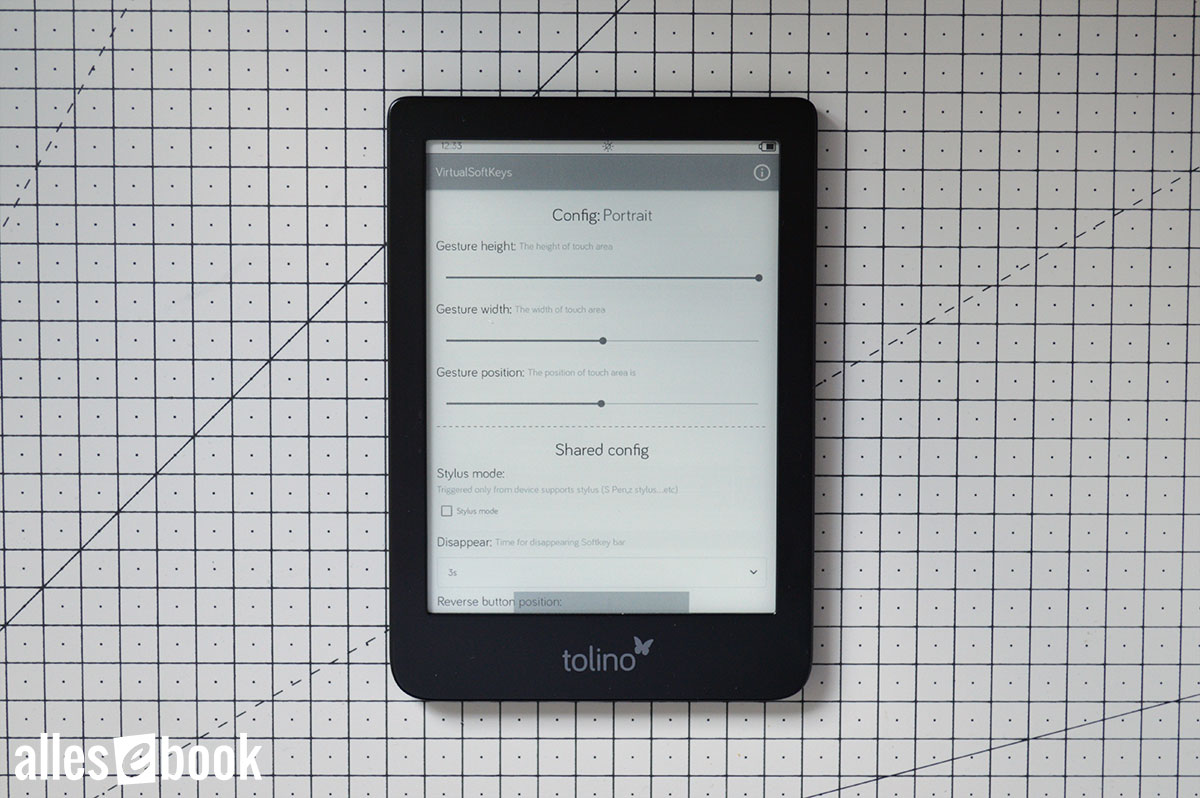
Virtual Button Settings
I recommend setting the “Gesture height” to 100% and the “Gesture width” to about 50%. This adjustment makes it much easier to display and hide the buttons. By setting the “Disappear” time to a few seconds, the button bar automatically hides again.
Your selection appears as a dark grey bar at the bottom of the screen. Swipe up in this area to show the button bar, and swipe down to hide it again.
Tolino Page 1, Shine 2 HD, Vision 3 HD, Vision 4 HD, Epos 1
To switch back to the VirtualSoftKeys app, simply press the home button. Check “Don’t remind” and dismiss the pop-up window with the “I knew” button.
You can now increase the “Gesture height” and expand the active area for accessing the virtual buttons.
Set the “Gesture height” to 100% and the “Gesture width” to about 50% for easier access to the button bar.
Your chosen area is displayed as a dark grey bar at the bottom of the screen. Swipe up there to show the button bar, and swipe down to hide it again.
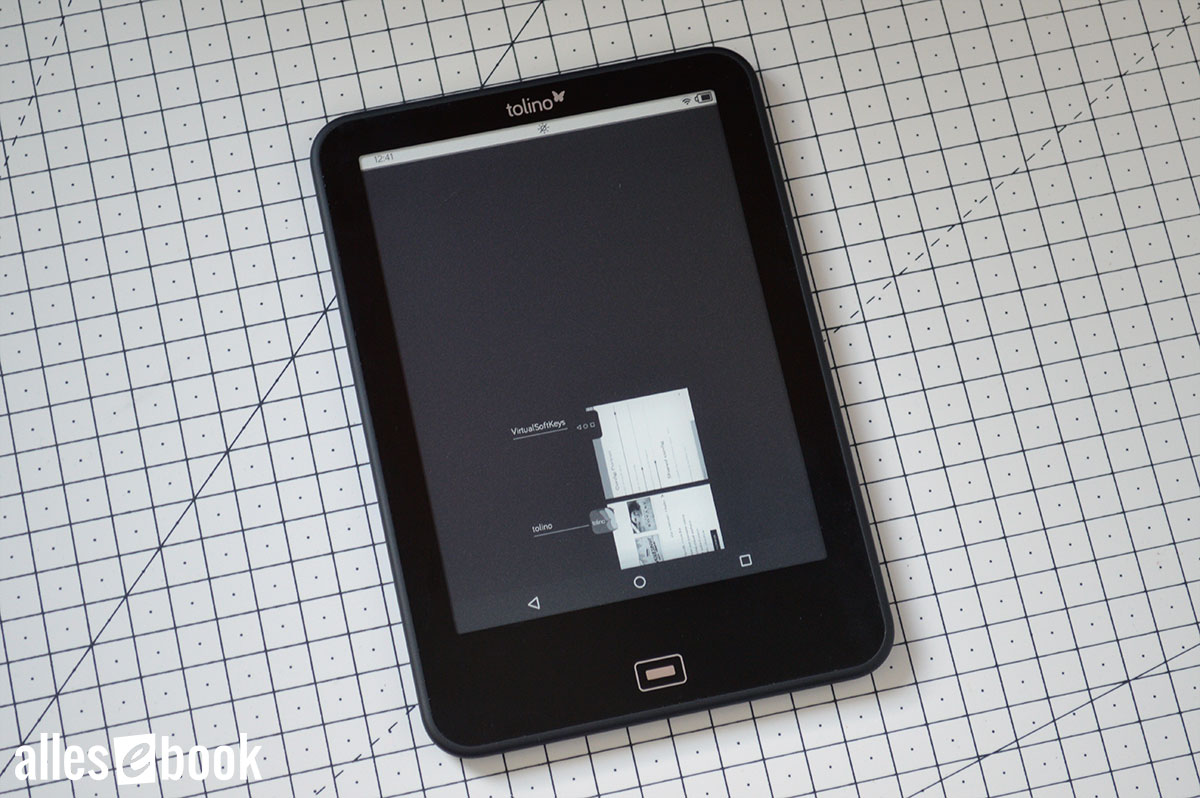
On Tolino models with a home button, tap the dark area to access the new launcher
One thing to note on Tolino models featuring the classic Tolino home button: This button is actually a back button, not a true home button. Within the Tolino user interface, it acts as a home button, but elsewhere it doesn’t.
As a result, the virtual home button behaves the same way. In other words, pressing the virtual home button will not return you from the Tolino app to the Simple Ink Launcher.

Softkey Settings
Fortunately, there’s an easy workaround: Instead of the home button, use the square button on the right, which displays open apps. Rather than selecting an app, tap anywhere on the dark screen area, and you’ll return to the Simple Ink Launcher.
What to Do If You Have Questions or Problems?
As mentioned above, unrestricted app access on the Tolino device is not intended by the manufacturer and can sometimes lead to issues. Unfortunately, I generally cannot provide support, as there are too many inquiries and troubleshooting is usually time-consuming.
If you have questions or encounter problems, please visit our forum. Both I and several knowledgeable Tolino users are active there and can offer help and advice.
You may also find answers to your questions by reading the existing discussions on the forum, so it’s worthwhile to review older topics and use the search function.