
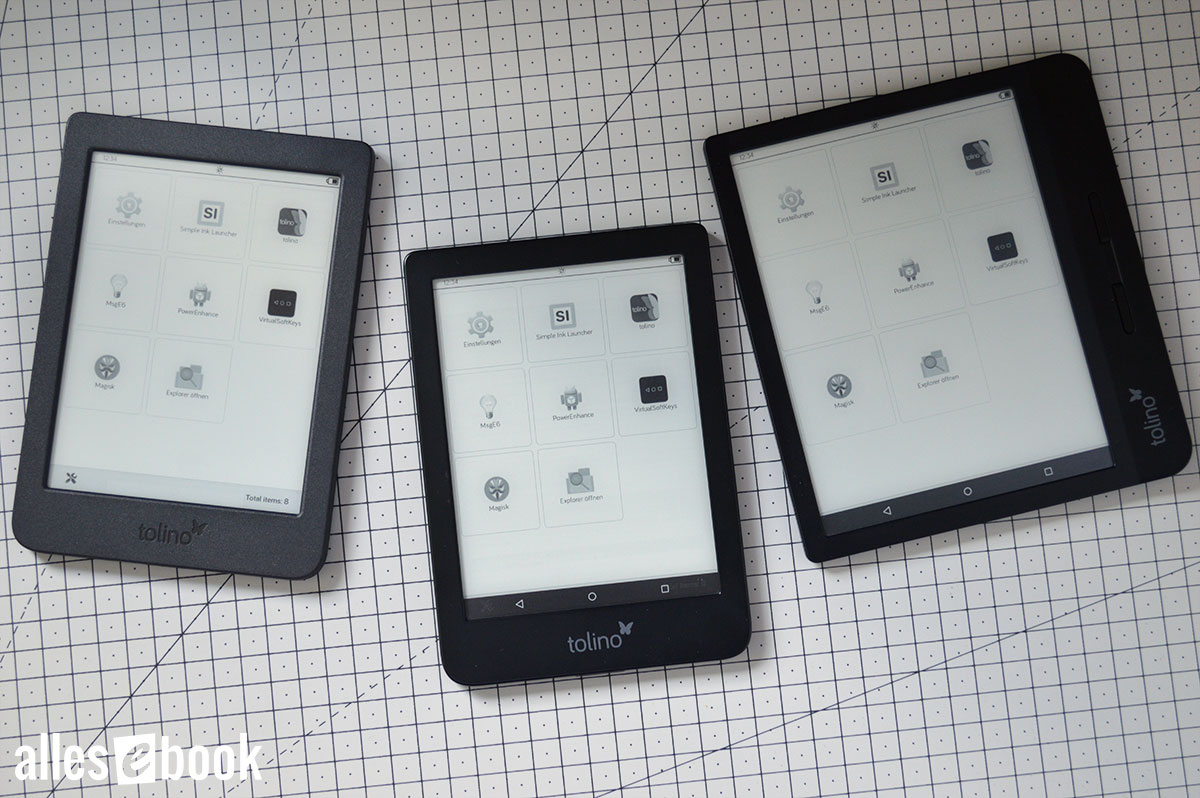
Tolino Page 2, Shine 3 & Vision 5 Rooting Guide: Access ADB, Install Apps, and More
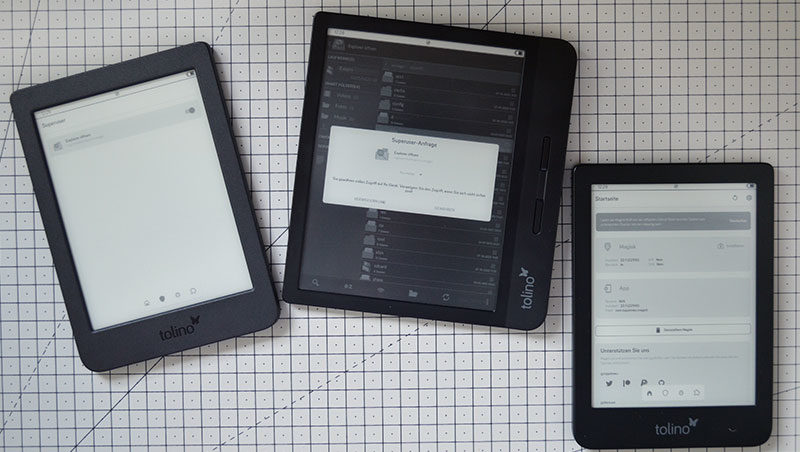
By following the guide below, you can obtain root access on the Tolino Page 2, Shine 3, or Vision 5. This access can be granted directly on the device with superuser rights or via Root-ADB from the PC.
Root access allows you to install your custom Android apps and make deep system modifications without having to open the Tolino e-reader.
This guide was created for the Tolino Page 2, Tolino Shine 3, and Tolino Vision 5 and has been successfully tested with Firmware 15.3.2, as of 07/16/2022.
Installing Apps Without Root
On Tolino e-readers with the current firmware, installing Android apps from device storage works without root access and without ADB. With a simple trick, you can sideload applications without making deep system changes.
This is not an official feature of the Tolino software, but it can be accomplished with a workaround using the hidden Debug Menu. Resourceful users in our forum discovered this option.
The advantage of installing apps without rooting is that you do not need to flash a boot image, and no system-critical components are involved. In summary, this is a relatively straightforward and safe way to install your apps on the Tolino Page 2, Shine 3, or Vision 5.
One potential downside is that future updates may make the Debug Menu inaccessible, removing this option. Furthermore, without root access, you cannot modify system components. However, this is generally not a problem, as most Android apps do not require access to critical system elements or root privileges.
If you want to install Android apps without root access, follow the instructions on this page.
The following describes only the option using root access.
What You Need to Know Before You Start
As with previous models, you can obtain root access on the Tolino Page 2, Shine 3, and Vision 5 using the Fastboot service. This interface is reserved for development purposes and enables the execution of various development functions. Flashing a boot image is among these functions.
This step is necessary here because the customized boot image included in this guide grants root access via ADB on the PC as well as directly through the Android user interface.
Useful Info: To enable root access via ADB, the original ADBD file had to be modified. The patch for this file was applied following this excellent guide.
I have thoroughly tested the following step-by-step guide multiple times on each of the mentioned devices. Unfortunately, it is impossible to predict all potential issues and effects, so please note the following caution:
We do not accept liability for any problems and do not offer support. The following steps may result in the loss of your warranty. Therefore: Proceed at your own risk!
Simply following the instructions takes only a few minutes. The guide has been written in great detail to make troubleshooting easier in case of problems, which means that your first attempt at rooting, including driver installation, may take a little longer.
Even though rooting does not provide access to e-reader storage, you should still back up all important files on the device for safety.
ALLESebook Root Package for the Tolino Page 2, Shine 3 & Vision 5
This root package was created based on the official firmware 15.3.2 and has been successfully tested by me with the following e-readers and firmware versions:
- Tolino Page 2, Firmware: 15.3.2
- Tolino Shine 3, Firmware: 15.3.2
- Tolino Vision 5, Firmware: 15.3.2
This guide might also work for the Tolino Epos 2; however, I do not have a device for testing.
IMPORTANT: Ensure that your e-reader is running one of the listed firmware versions before beginning this guide. While other versions may work, we have not tested them. This package is not suitable for any Tolino model other than the ones listed.
Before starting, download the root package here and extract the ZIP file to a folder of your choice on your Windows PC:
Download: ALLESebook.de_tolino-page2-shine3-vision5_15.3.2_root.zip (31.1 MB)
The package contains, among other things, the following files and folders:
- a_images
- custom_boot.img
- …
- b_usb_driver
- DPInst_x64.exe
- DPInst_x86.exe
- …
- c_adb
- z_daxia.virtualsoftkeys_10.apk (Virtual Navigation)
- z_Magisk-v22.1.apk (Root Companion App)
- z_org.brandroid.openmanager_212.apk (File Explorer)
- z_simple.ink.launcher.1.2.apk (E-Ink Friendly Launcher)
- …
- 1_ANLEITUNG
- 2_INSTALL_usb_drivers.bat
- 3_INSTALL_vendor_id.bat
- 4_FLASH_bootimg.bat
- 5_TEST_adb.bat
- 6_INSTALL_apps.bat
Step-by-Step Guide
Before starting on the Tolino reading device, you must install the appropriate USB drivers for the ADB interface on your PC. Run the file “2_INSTALL_usb_drivers.bat“. This will install the correct drivers on your Windows PC. The system automatically detects whether you are on a 32-bit or 64-bit system. Please complete the driver installation process. When finished, you can close both windows (Figure 1).

Fig. 1: USB Driver Installation
Next, you need to register the necessary device ID for ADB access in the operating system. Start the file “3_INSTALL_vendor_id.bat“. Without this ID, the ADB connection will not function even if the drivers are correctly installed.
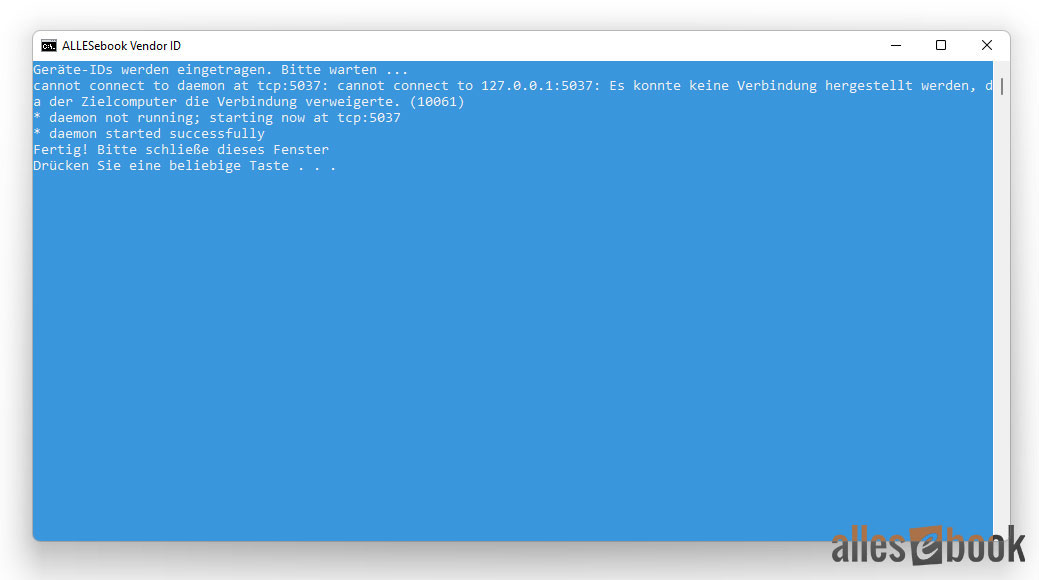
Fig. 2: Vendor ID Registration
The next step on the PC is to link the previously installed ADB drivers with the Tolino e-reader. Before continuing, double-check that your Tolino Page 2, Shine 3, or Vision 5 is running one of the firmware versions listed above. If so, connect your powered-on e-reader to the PC with a USB cable. For the next steps, the battery should ideally be fully or almost fully charged.
While the e-reader is connected via USB cable, switch it off completely. To do so, press and hold the power button until the pop-up menu appears on the screen, then select “Turn Off.” Wait until the device has fully shut down and the LED on the grip strip (Vision 5) or in the power button (Page 2 and Shine 3) is off.
The following step requires quick reaction, unless you have previously rooted another Tolino e-reader. Now, you need to link the ADB drivers with the device. The challenge is that Fastboot mode for all three models remains active for only a few seconds before the e-reader automatically restarts. Due to the rapid restart, the device disappears from the PC’s list, and you may not be able to link the drivers in time. So, proceed as follows:
Open Windows Device Manager.
This process is the same for all three devices: Hold the power button down. On the Page 2 and Shine 3, the LED in the power button remains lit, while on the Vision 5 there is no visual feedback. Watch Device Manager on your PC. After about 30 seconds, the e-reader will activate Fastboot mode, and then restart after a short interval. When this occurs, a new entry appears under “Other Devices” in the list. The name may differ, such as “tolino (?)”, “i.mx6sl NTX Smart Device”, or “USB Developer”.
Right-click the new device entry, select “Properties,” and follow the steps shown in the subsequent image gallery.
If you were not quick enough (it took me several attempts as well to link the drivers the first time), repeat step 6 until you have entered the device settings. The subsequent steps will also work if the actual ADB device is no longer connected. Once you have accessed the device settings, you can ignore the e-reader until you are finished.


After successfully linking the drivers, you can proceed with changes to the e-reader: To flash the modified boot image, start the file “4_FLASH_bootimg.bat“.
After running the file, your PC will wait for a connection. While the Tolino e-reader is still connected via USB, turn it off. Once it has completely shut down, start Fastboot again. Don’t worry, this time you can take your time. Press and hold the power button, as previously described, for about 30 seconds and only release it when the success message (“downloading ‘boot.img'”) appears in the blue window.

If flashing is successful, you will return to the familiar Tolino user interface after the device restarts. Unlike before, ADB is now activated. Check the ADB connection by starting the file “5_TEST_adb.bat“.
If successful, you will see a random string as the device ID, possibly with the note “unauthorized.” If next to the device ID you see “unauthorized,” briefly unplug and reconnect the USB cable, then run the file again. Afterward, the device ID should show “device,” which confirms that ADB access is enabled.
If there is no activity in the blue window, and for at least 30 seconds only “* daemon started successfully *” appears, close the window, briefly unplug and replug the e-reader, and restart the file. If an ADB device is still not found and the random string is missing, the driver installation most likely failed. (See steps 1–6)

Now, we can proceed with app installation, which also grants access to the Android user interface: Start the file “6_INSTALL_apps.bat“. The apps will be installed automatically. The e-reader will then restart on its own.

Final Steps
After the last step, the Tolino Vision 6 restarts, and a launcher selection will appear. Choose “Simple Ink Launcher” and then select “Always.” This sets this launcher as your default user interface.
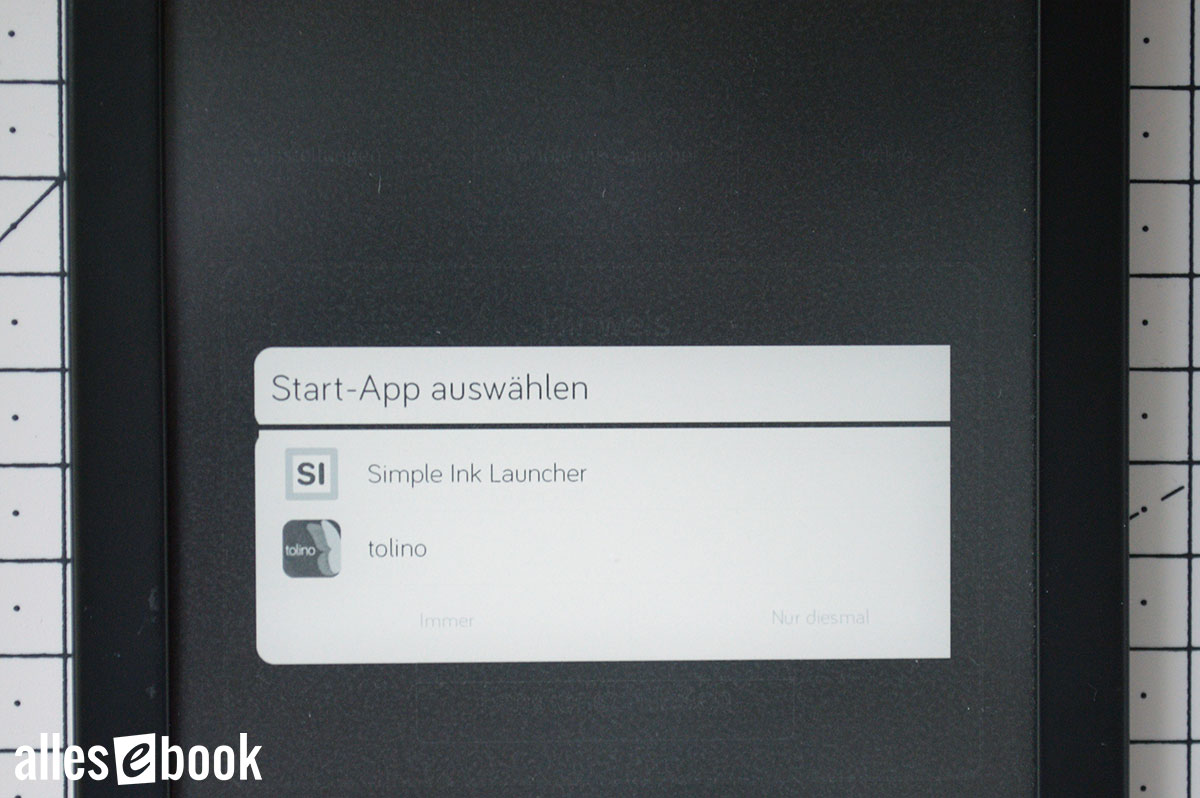
Set as Default Launcher
You now need to activate the Virtual Softkeys so you can switch between the Tolino app and the Simple Ink Launcher. Otherwise, you would have to restart the e-reader each time you want to return to the launcher.
Enable and Set Up Virtual Soft Keys
Setting up Virtual Softkeys is quick (though it may require some patience on the Page 2; see below). Simply activate the VirtualSoftKeys in the Accessibility settings, and you can use them right away.

You must grant Android permissions to use the app for navigation.
Open the app and tap the active “Go to Settings” button at the bottom, then enable “VirtualSoftKeys” in the Accessibility settings.
This part can be tricky: you need to switch back. This is usually done on Tolino devices without a home button by swiping from the bottom edge of the screen. However, because you’re not in the Tolino app, this does not work here. Luckily, since VirtualSoftKeys have already been enabled in Accessibility, you can use them immediately, no further setup needed.
Attempt to swipe up from the very bottom edge of the screen to display the virtual softkeys. It often took me a few attempts since the default area is relatively narrow. If the buttons do not appear at the bottom of the screen, keep trying.
When successful, simply tap the Home button to return to the Simple Ink Launcher.
If repeated attempts fail (the Tolino Page 2 was especially stubborn, while Shine 3 and Vision 5 worked more reliably), restart the e-reader. This brings you back to the launcher, where you can simply open the VirtualSoftKeys app again.
Open the VirtualSoftKeys app again, check “Don’t remind,” and dismiss the pop-up window with “I knew.” You can now increase the “Gesture height” to enlarge the area for activating the virtual buttons.
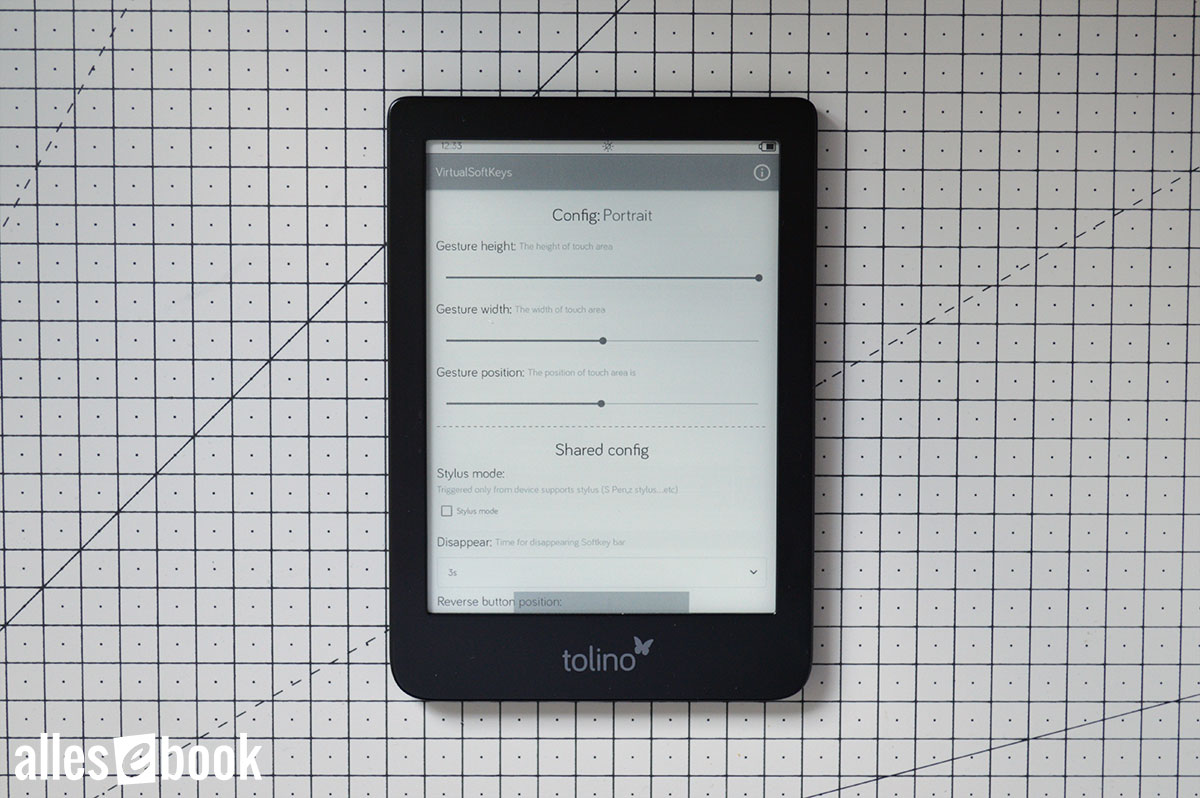
Virtual Buttons Settings
I set the “Gesture height” to 100% and the “Gesture width” to about 50%. This way, the buttons can be displayed and hidden fairly easily. I set the “Disappear” time to three seconds so that the button bar automatically hides again after a short period.
Your selection will appear as a dark gray bar at the bottom of the screen. Swipe up in this area to display the button bar, and swipe down to hide it again.
Tolino Page 2, Shine 3, Vision 5: Simple Ink Launcher with activated Virtual Softkeys at the bottom of the screen
Magisk Root
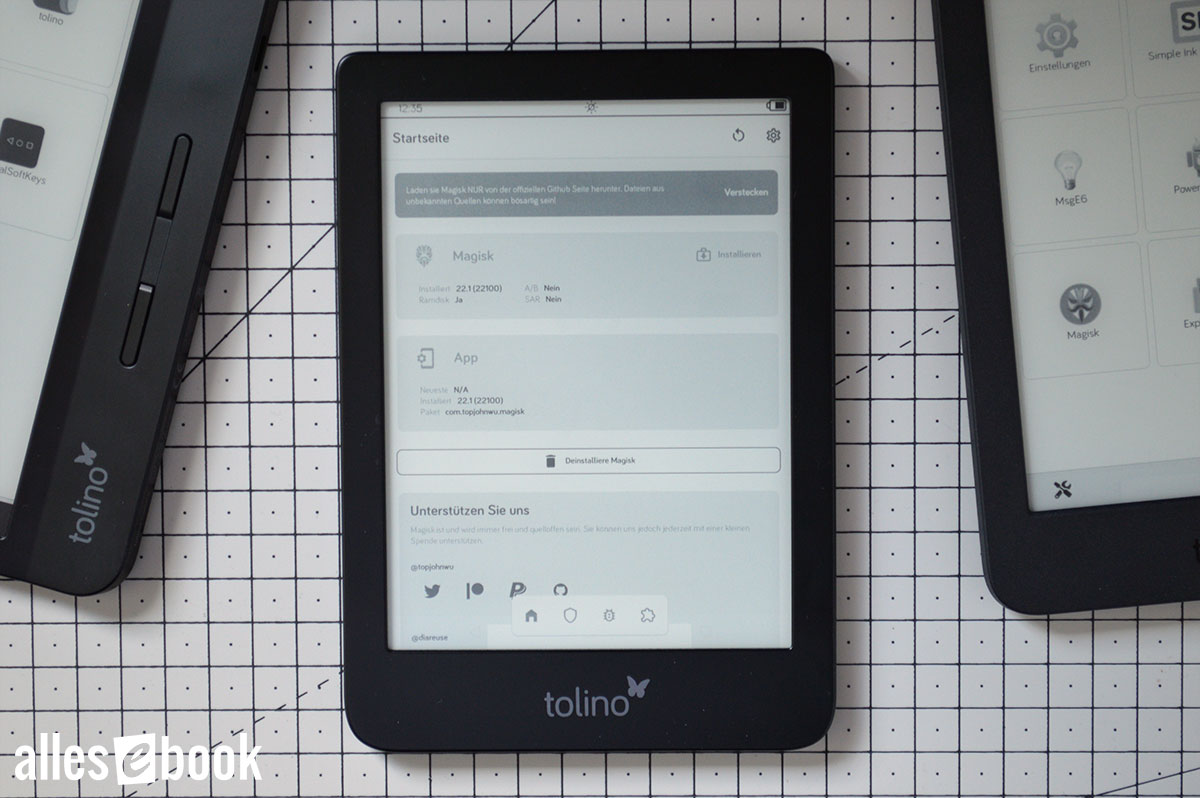
Root access with Magisk
Magisk root access has been integrated as a user-friendly maintenance option. Open the Magisk app to check if root access is enabled.
If the “Magisk” section displays “Installed” with the value “22.1 (22100),” then you have root access. Whenever an app requests this, a pop-up window will appear, allowing you to grant or deny root access. This works for both granting superuser privileges to apps on your device and for ADB access from your PC.
Depending on your device and firmware version, Magisk may require a restart to finalize the system changes.
What to Do With Questions or Problems?
As mentioned, beyond this step-by-step guide, I unfortunately cannot provide further support. There are too many inquiries and troubleshooting is generally very time-consuming.
For any questions or issues related to root access, please contact our forum. Not only do I follow the discussions there, but there are also knowledgeable root experts who can offer advice.
Furthermore, you may already find answers to common questions in the forum. It is therefore worth checking older threads and using the search function.