Tolino Shine Root Access Guide: Unlock Google Play with Rooting Instructions
Attention: The instructions do not work with the current firmware versions and will be updated in the near future. Until then, make sure to use the instructions only for the specified, tested firmware versions. (As of: April 2020)
Update: Here you can find the guide to root the Tolino Shine 2 HD and Tolino Vision 3 HD.
Original Message: After the hacker “hecke” found a way to root the Tolino Shine without opening the device, there is now, as announced, the guide on how you can also gain root access on your Tolino Shine. The guide works for the software versions 1.0 and 1.1.
As always, note that the following steps may void the warranty, and we cannot take responsibility for any potential issues that may arise. Thus: proceed at your own risk!
Now that the obligatory warning has been given, let’s begin. I have prepared a (Windows) package that allows you to perform the necessary steps with a few clicks. However, some preliminary work is required that must be done by yourself.
Here’s the short demo video again, so you know what’s in store for you once your work is done:
You will need a memory card for the following steps. The complete steps to gain root access:
1. Download the ALLESebook.de Root Package 1.0 (91.4 MB) and extract the file to a directory of your choice. If you have already downloaded the recovery file externally, there is here the same package without “recovery.img” (20.9 MB)
2. Insert the memory card into a suitable memory card reader (you can skip points 4 and 5 if you do this). Alternatively, you can also use the Tolino Shine for this. Connect the Tolino Shine with the inserted memory card to the PC via USB.
3. Open the folder “1_recovery” in the Root Package on the PC and copy the file “recovery.img” using the file explorer to the memory card. This file will enable root access on the Tolino Shine via ADB. Further information on how exactly this works can be found on hecke’s blog. (Note: Unfortunately, the blog is no longer available)
4. Remove the memory card from the Tolino before disconnecting the device.
5. Now the reader can be disconnected. Wait a brief moment.
6. Insert the memory card into the powered-on (disconnected from PC) Tolino Shine. The device will now start a background copying process that moves the recovery file from the memory card to the correct location on the device. This takes less than 5 minutes. It’s best not to operate the Tolino Shine during this time, as it responds with significant delay. Once the copy process is complete, the Tolino Shine will power off. Just wait until it’s done. You can tell the process was successful if you open the memory card folder on the PC and see a file named “recovery.img_old”.
ADDITIONAL: If the copying process does not start, turn the Tolino Shine off and back on. The new recovery file will be automatically applied at the latest when restarted.
7. Now start the recovery mode by holding the home button and sliding the power switch. This will execute the actual script that activates ADB on the device. You will end up in a menu from which you can restart the Tolino Shine. Do this by pressing the power button. The Tolino Shine restarts, and you find yourself on the normal start screen.

Recovery mode on the Tolino Shine
8. The preparations on the device are now complete. However, before you can actually access the Tolino Shine via ADB, you need to install the correct drivers. Before doing this, start the file “2_vendor_id.bat” in the Root Package. The execution only takes a moment, then the window closes again.
9. You can now reconnect the Tolino Shine to the PC. Leave everything on the reader as it is. The Tolino Shine will be recognized by the Windows Device Manager. Open the Control Panel (Start button -> Control Panel) on the PC and start the Device Manager (in category view: Hardware and Sound -> Devices and Printers). If the Tolino is not recognized by the PC as shown in the picture below, something went wrong when applying the recovery file. Go back to point 3.

This is how it should look on the PC at this point


10. Here the Tolino appears marked with an exclamation mark. Don’t worry, this is normal. All the steps described below are illustrated in the images shown above. Double-click to open the device settings, click on “Install driver” and select “Search for driver software on the computer”.
11. Now select “Choose from a list of device drivers on the computer”, then double-click “Show all devices”.
12. Now press the “Disk” button, then “Browse” in the new window. Navigate to the ALLESebook.de Root Package folder in the “2_usb_driver” directory, select the file “android_winusb.inf“, and confirm with “Open”.
13. Select “Android Composite ADB Interface”, press “Next”, confirm the new prompt with “Yes”, and confirm again with “Install”. The drivers will now be installed, and you wait for the success message. In the Device Manager, the Tolino will now be recognized as “Android Composite ADB Interface”.

If everything went successfully, it should look like this
14. You’ve now completed all the necessary steps, so applications can now be installed on the Tolino Shine. For basic functionality, finally start the file “3_install_su.bat” in the Root Package folder. Here you’ll confirm again that you’ve read this guide to avoid any problems and misunderstandings. The package includes the following apps:
- LauncherPro
- Gallery App
- Google Play
- Button Savior
- Cool Reader
- Total Commander
- Superuser
15. Wait until the program has run through.
16. Once you see the success message and the Tolino Shine restarts, you can disconnect the USB connection. Once the device has booted up, you will be greeted with a selection menu for the home screen, and you can switch to the regular Android launcher. The Android navigation (Home, Back, Menu) is done via the now-installed virtual buttons of the “Button Savior” app. The appearance and position can be changed in the app settings. To enable the Wi-Fi connection for apps, you’ll need to activate it in the settings menu first.
The default background image has Taiwanese (?) characters; can anyone tell us what they mean?

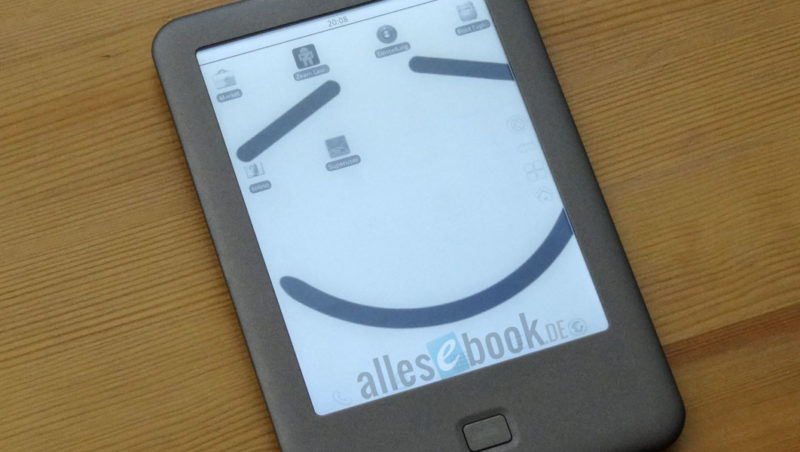
Tolino Shine rooted, which interface would you like?
17. That’s it! The Tolino Shine is rooted and has superuser rights for relevant apps. Apps can now be installed both via Total Commander and the Android Market. The available internal memory exceeds 400 MB, providing plenty of space for additional apps. Enjoy!
As always, please leave any questions, suggestions, and criticism as a comment under this article!